The OnePlus 5 doesn't have too many weak spots, at least not when you consider the price. But you might feel that the company with the slogan, "Never Settle," might have actually settled a bit with its camera. The OnePlus 5 and 5T don't have bad imaging specs, but they could use a pick-me-up, which is what we're about to provide. There's a bit of a catch, though.
These photos will look more detailed, and with more detail comes the requirement for more storage space. You are simply getting more information and details for your eyes to see on the photo, but that's because it's not being compressed into a smaller version of itself. Yes, there's a GCam mod/app out there, too, but with this mod, the difference in quality is just more noticeable.
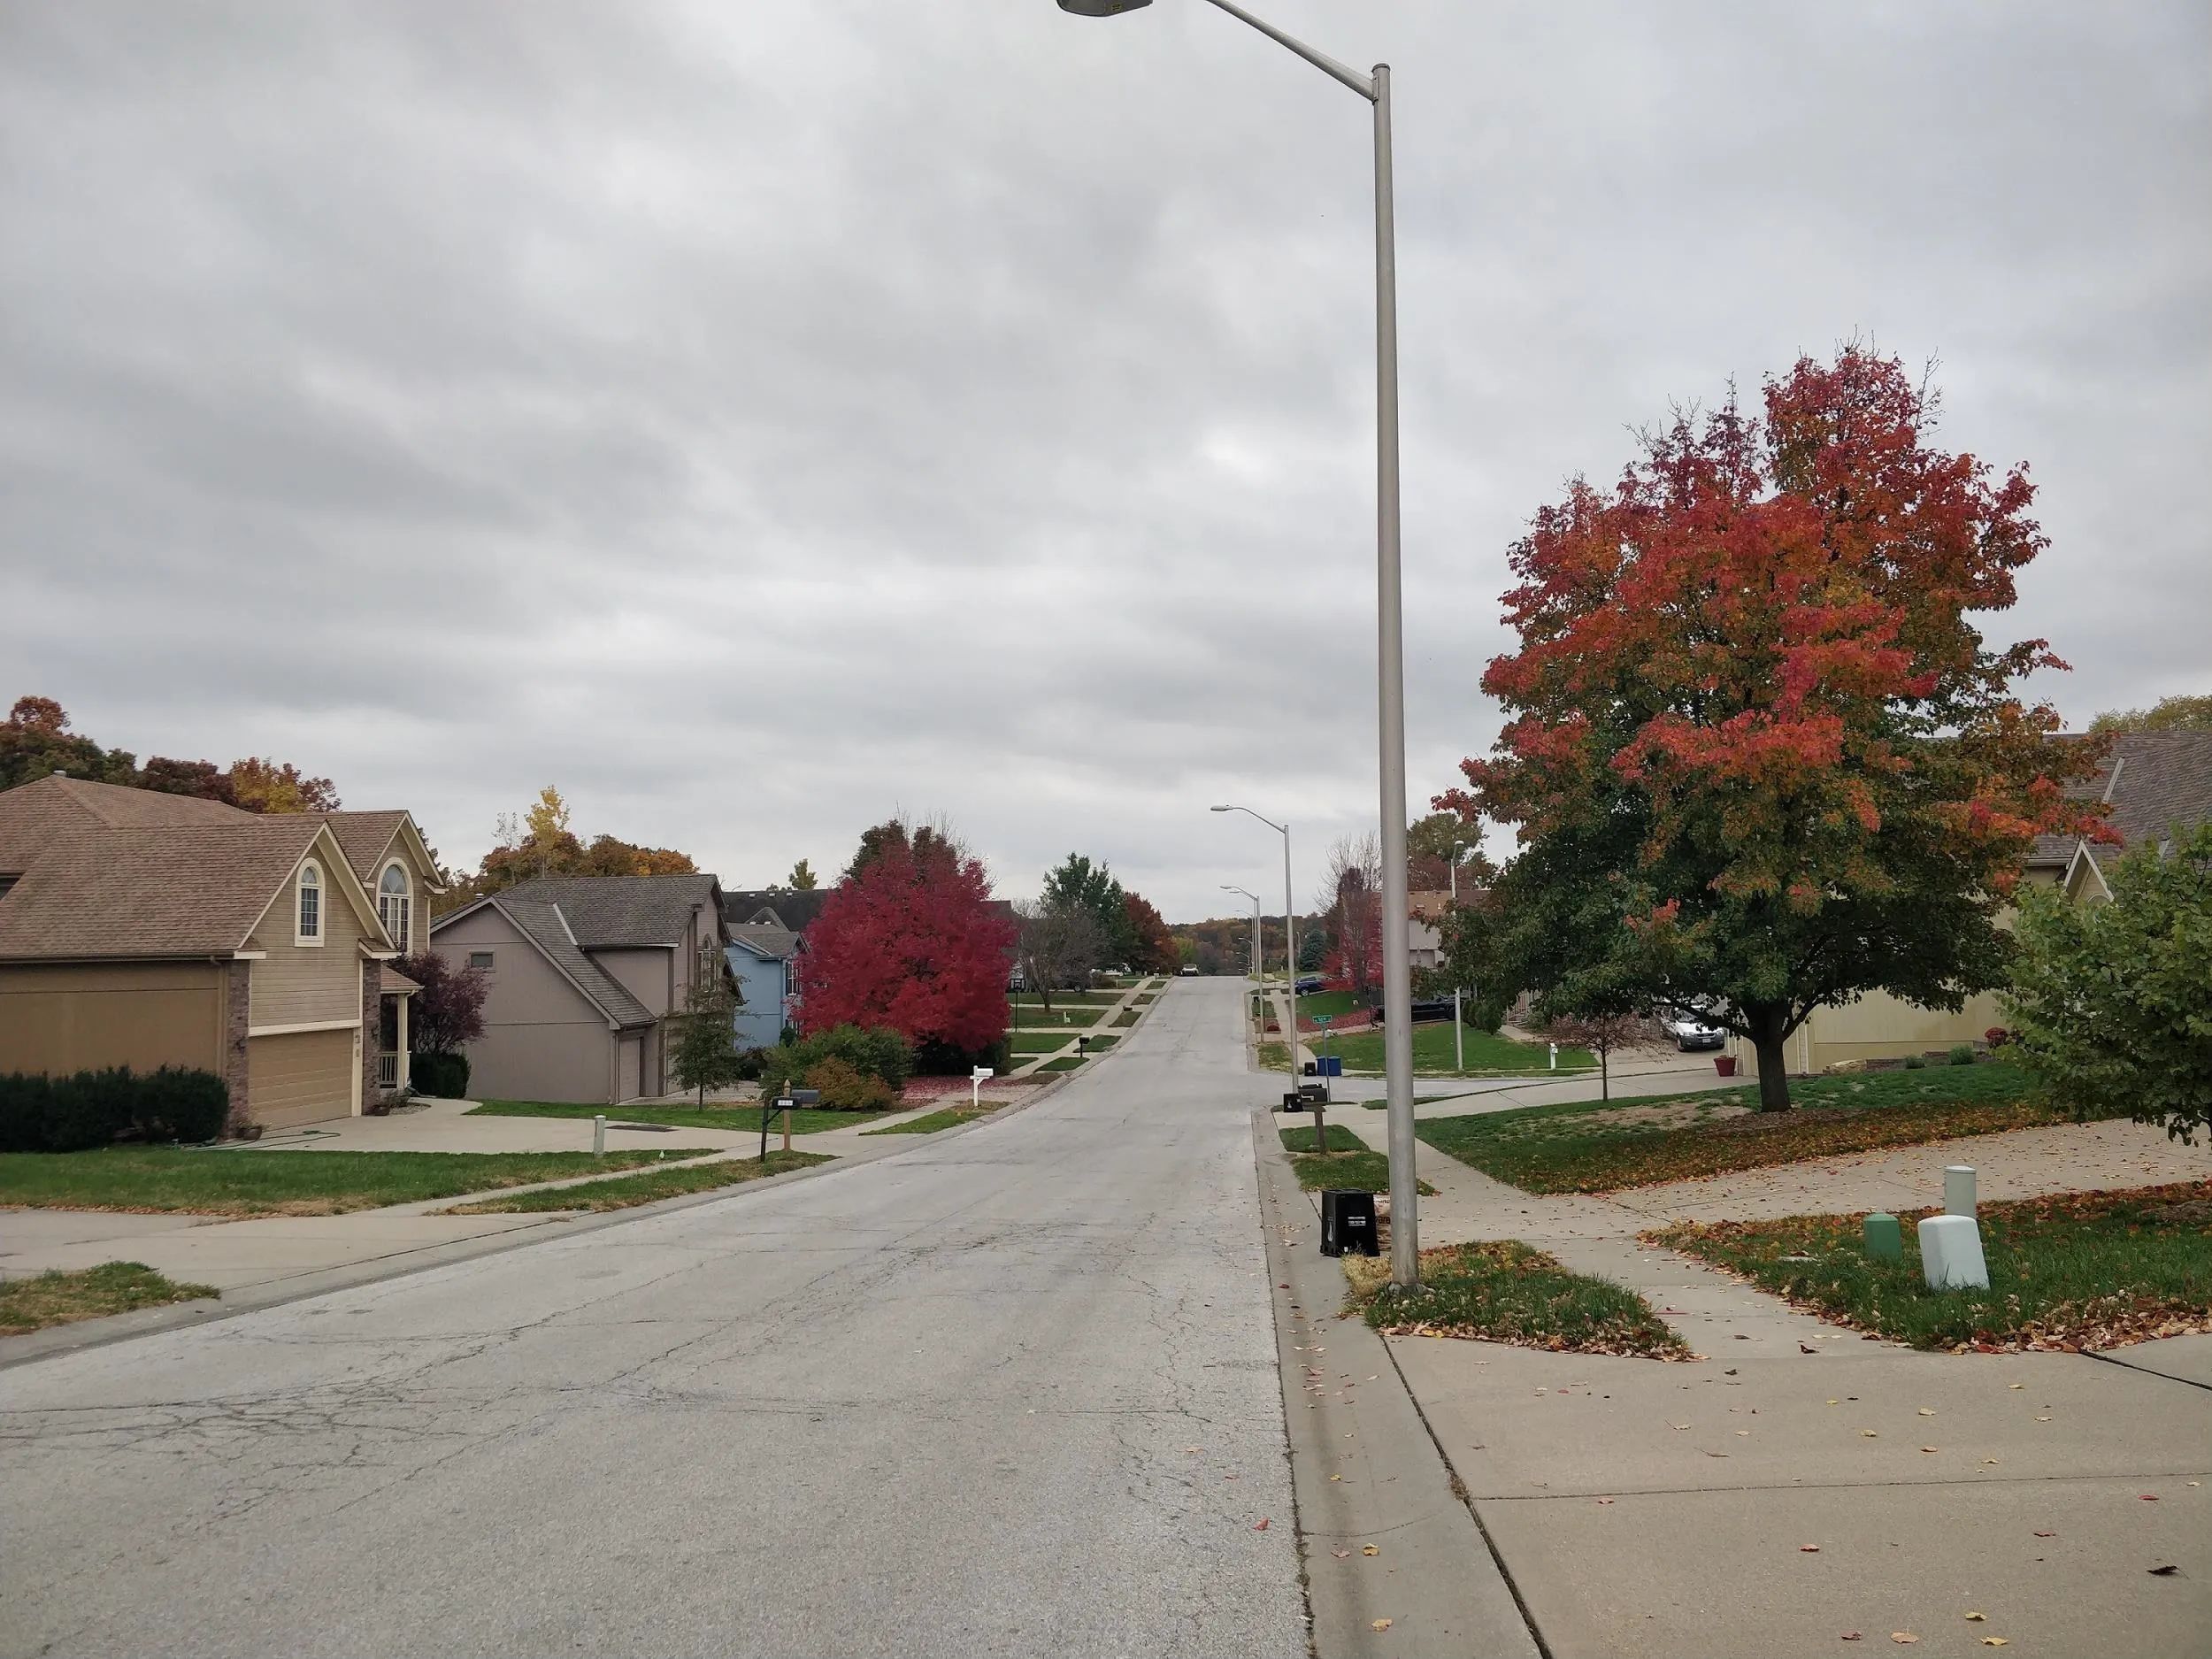
Before Camera Mod M
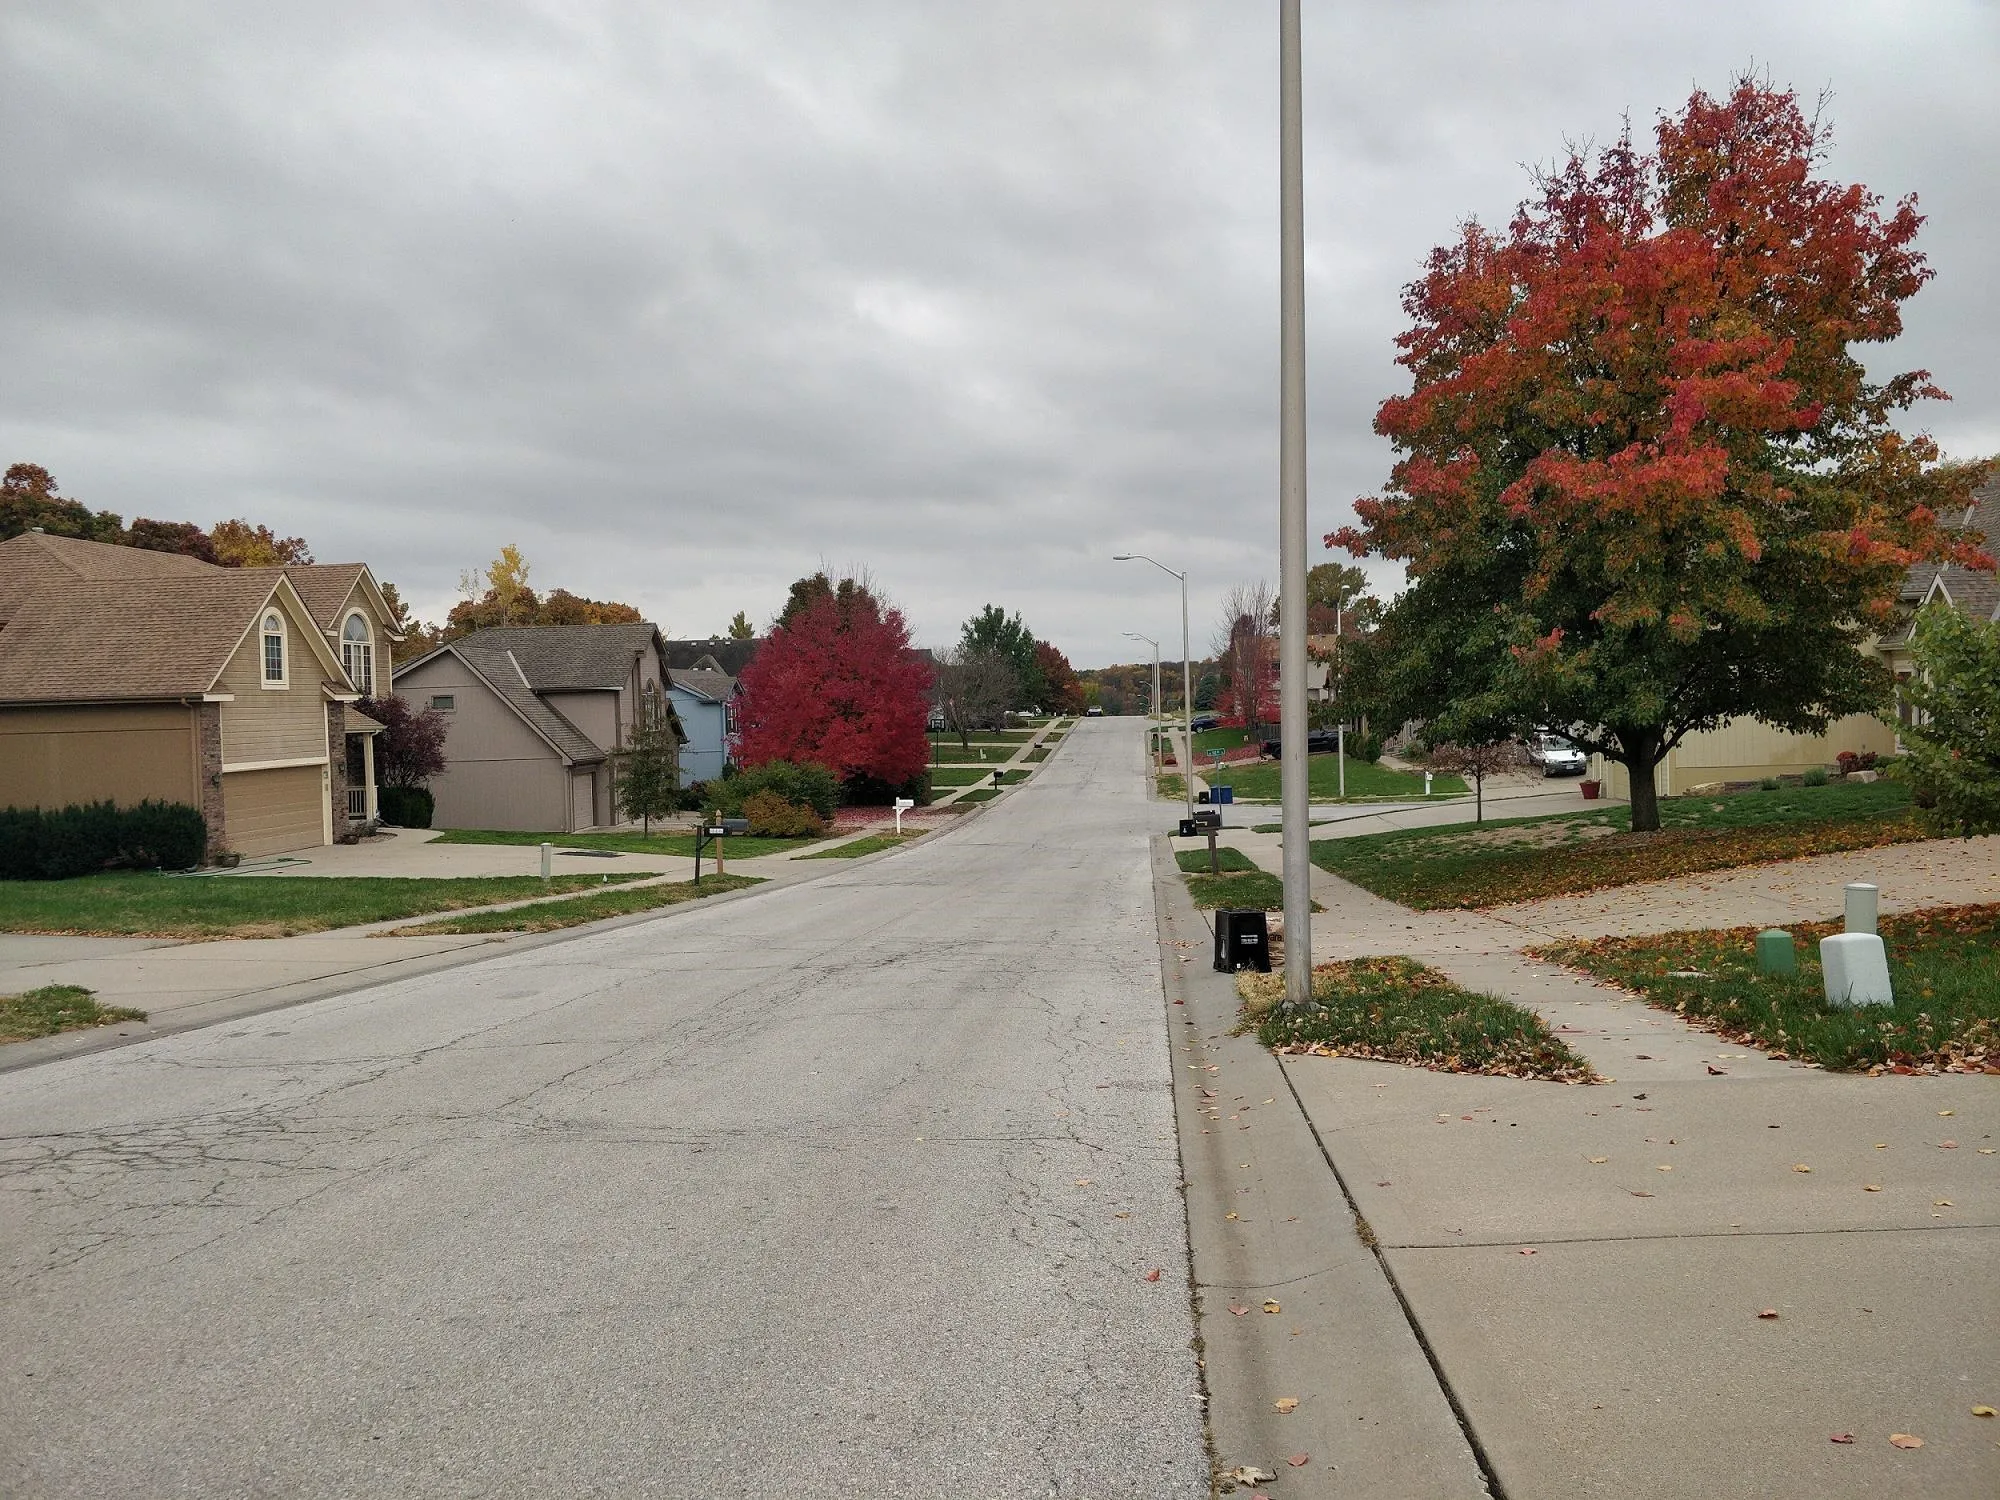
After Camera Mod M

Before Camera Mod M

After Camera Mod M
Here's what you'll gain: loss of watercolor effect (this is what some people refer to as washed out, or looking like an oil-painting — the pics just lose their luster with the way they are processed by default), JPEG quality changes to 100 by default, sharpness is adapted prior to processing, and there's an option to manually adjust sharpness on the front camera in Settings.
Requirements
- One Plus 5 or 5T
- Magisk framework installed
- NANDroid backup (just in case)
- Stock OnePlus Camera app (uninstall any updates via the Google Play app by going to Settings –> Apps –> OnePlus Camera, then disable and re-enable the camera)
Step 1: Download the Camera M Magisk Mod
To get things rolling, follow the link below to get the Camera M Magisk module on your device — for better photo quality without modifying the system partition (and breaking SafetyNet). You have to scroll down a ways to find the attached ZIP file.


Step 2: Flash the ZIP in Magisk
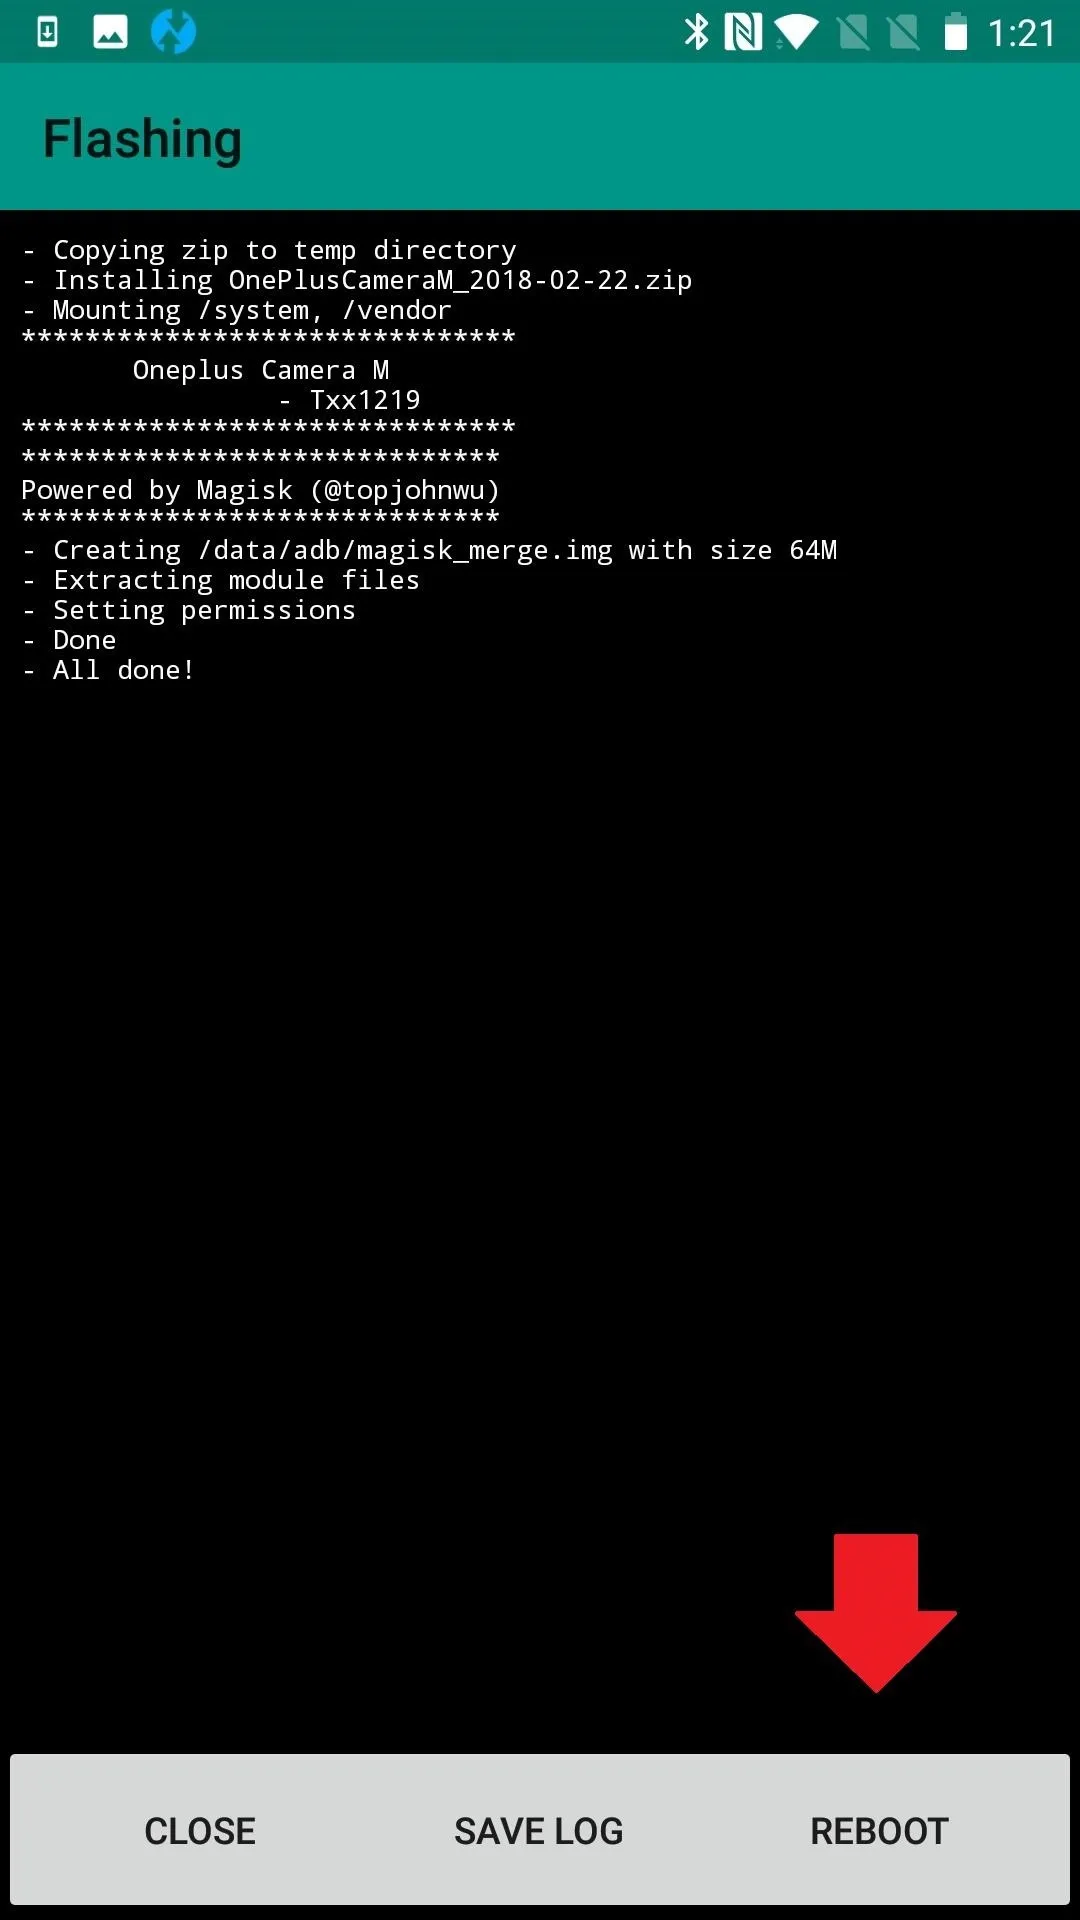
Now, open your Magisk Manager app. From the side navigation menu, tap on "Modules." Press the yellow add button at the bottom of your screen. Tap on the ZIP file you downloaded earlier, then hit "Install" when prompted.


Step 3: Reboot
Once the flashing completes, tap the "Reboot" button at the bottom of the screen. If you accidentally closed out of the flashing screen, just reboot your phone as you normally would through the power menu.


Step 4: Enjoy Enhanced Photo Quality
Once the module is installed, you can go about using the stock Camera app as you normally would — it will just take higher-quality photos now. I can remember a time when people used to have to buy professional-grade cameras if they wanted to ensure high-quality photo shoots (perhaps that makes me old.) Those are still out there if you have the money, but now you have a great camera you carry around with you all the time. Give it a shot, literally.

Before Camera Mod M

After Camera Mod M

Before Camera Mod M

After Camera Mod M
- Follow Gadget Hacks on Pinterest, Reddit, Twitter, YouTube, and Flipboard
- Sign up for Gadget Hacks' daily newsletter or weekly Android and iOS updates
- Follow WonderHowTo on Facebook, Twitter, Pinterest, and Flipboard
Cover image and screenshots by Delani Clatfelter/Gadget Hacks


Comments
No Comments Exist
Be the first, drop a comment!