The 13-megapixel camera on the OnePlus One is capable of taking some pretty impressive shots, but the stock CameraNext app doesn't do the hardware justice. When compared to the camera app that ships on the ColorOS version of the One, you can immediately see an increase in clarity and low light performance.
Unfortunately, you cannot simply download an APK and install the ColorOS camera on a CyanogenMod-powered One. But thanks to the work of XDA users BOOTMGR, infinityplus, and andriman, it can be ported with most of its plugins. If you're rooted, you can flash the camera and all of its plugins though TWRP. If not, you can simply install each plugin individually.
Installation Method #1: Using TWRP (Root Needed)
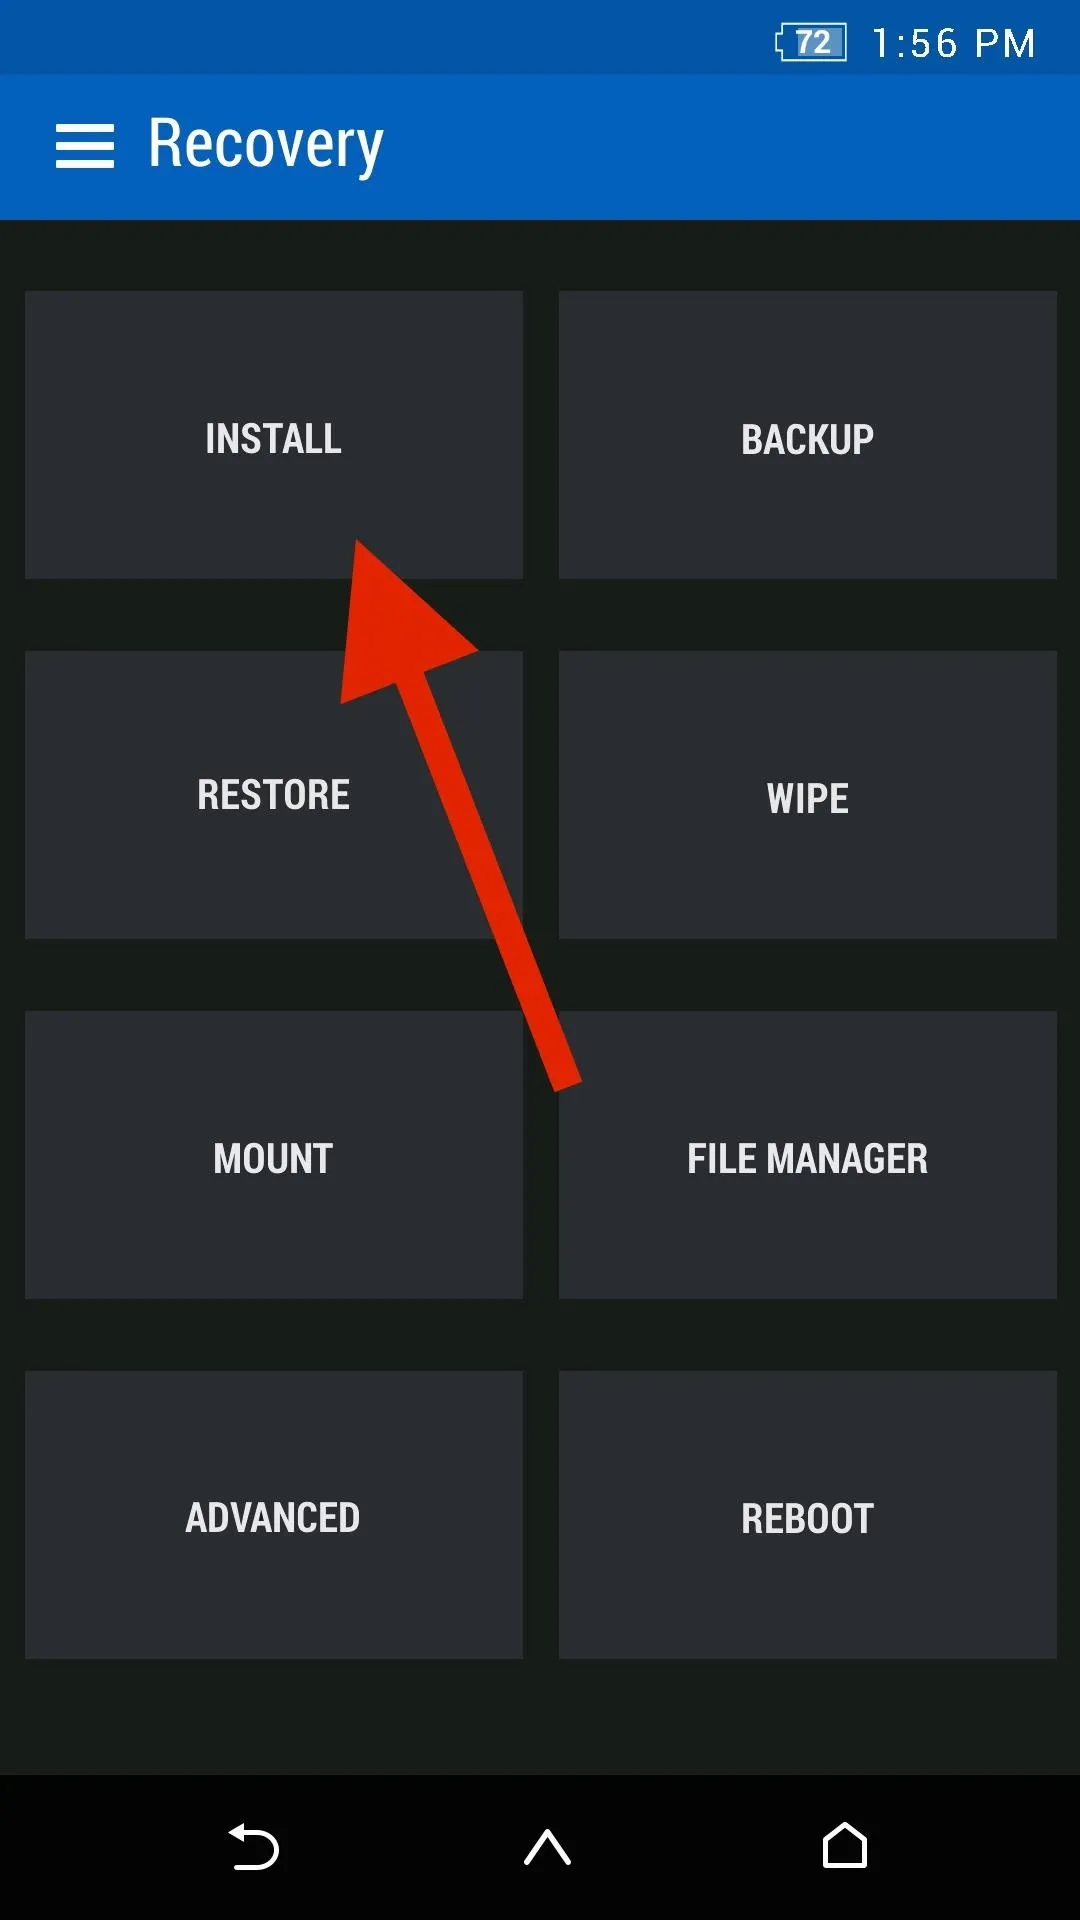
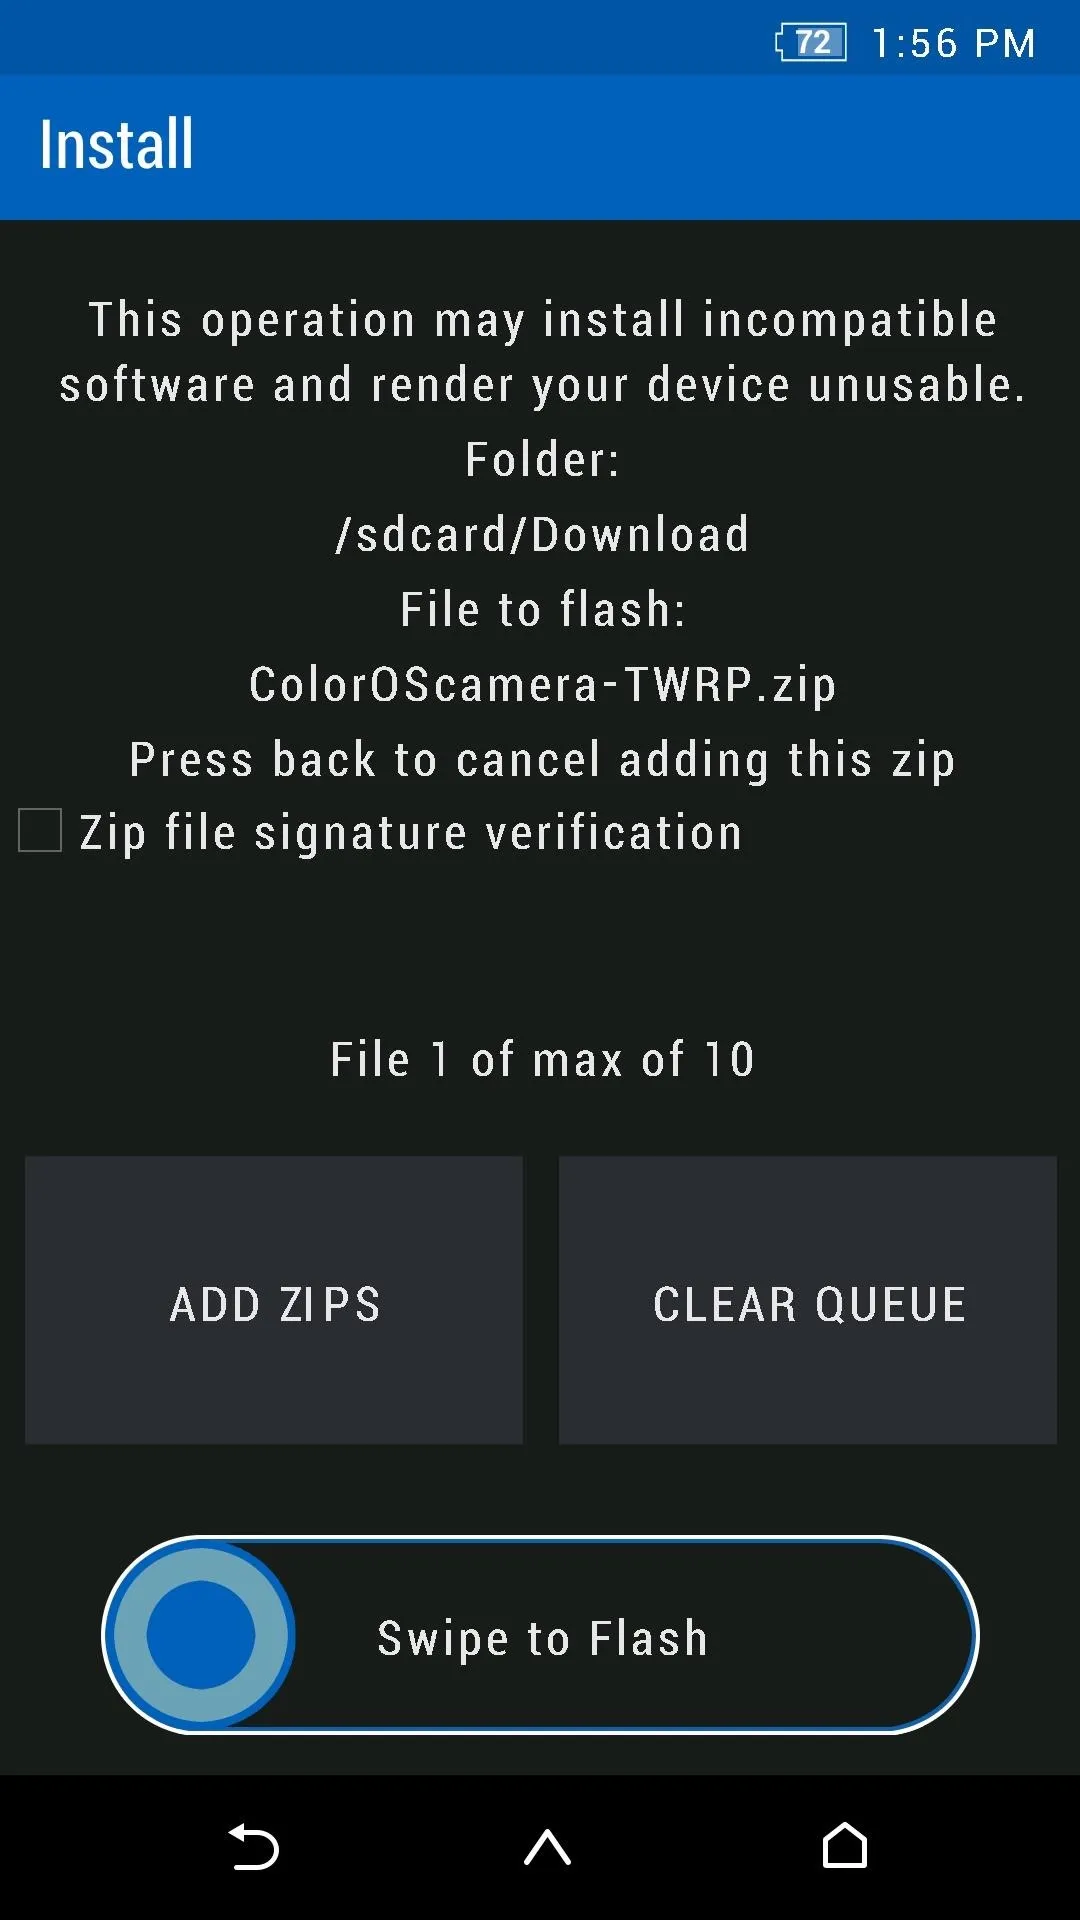
If you have an unlocked bootloader with TWRP installed as your recovery image, you can flash the entire ColorOS camera suite in one go. All you have to do is download the ColorOScamera-TWRP.zip file and flash it through TWRP.
To boot into TWRP, first unhide your Developer options, then enable "Advanced reboot" and select "Recovery" from the reboot options in your Power Menu.
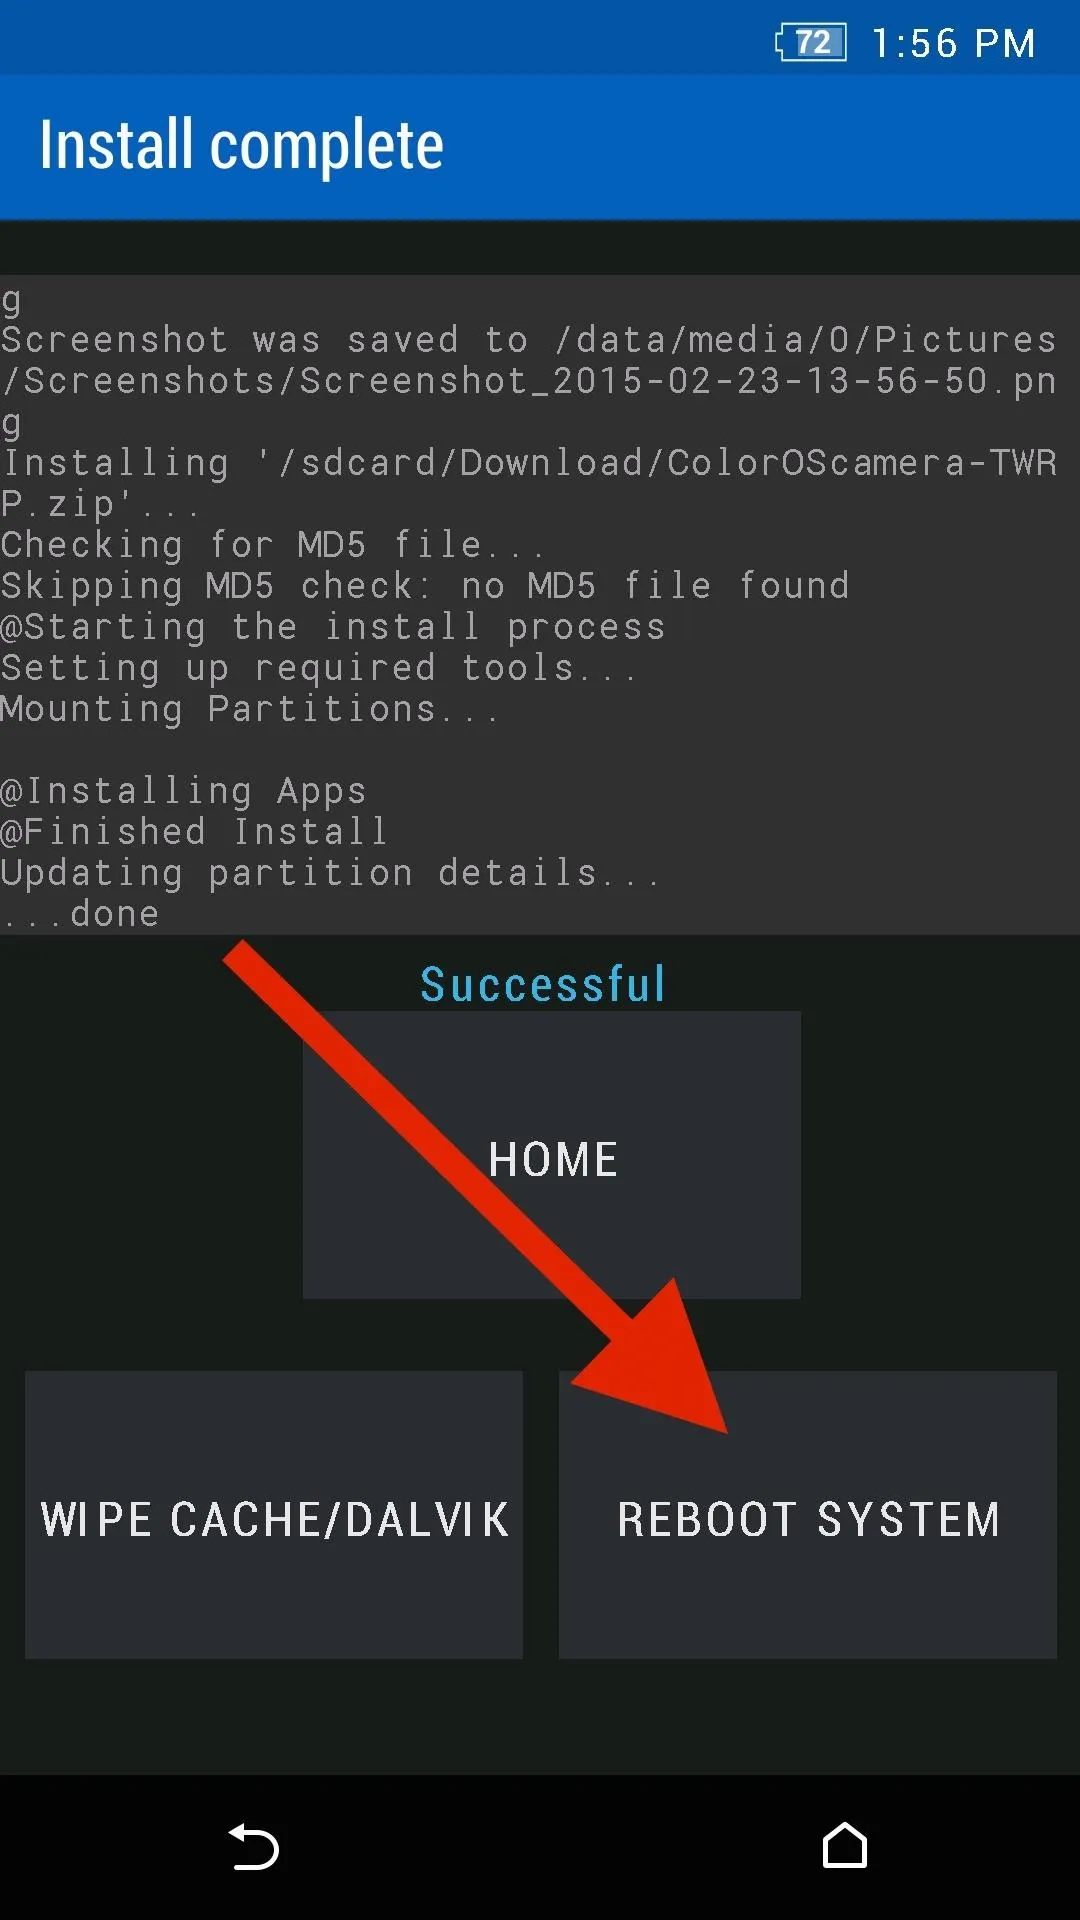
Once you are in TWRP, tap "Install," select the camera ZIP file, and "Swipe to Flash." After the flash is completed, tap "Reboot System" and your new camera will be available in your app drawer.


Installation Method #2: Installing APKs Manually (No Root Needed)
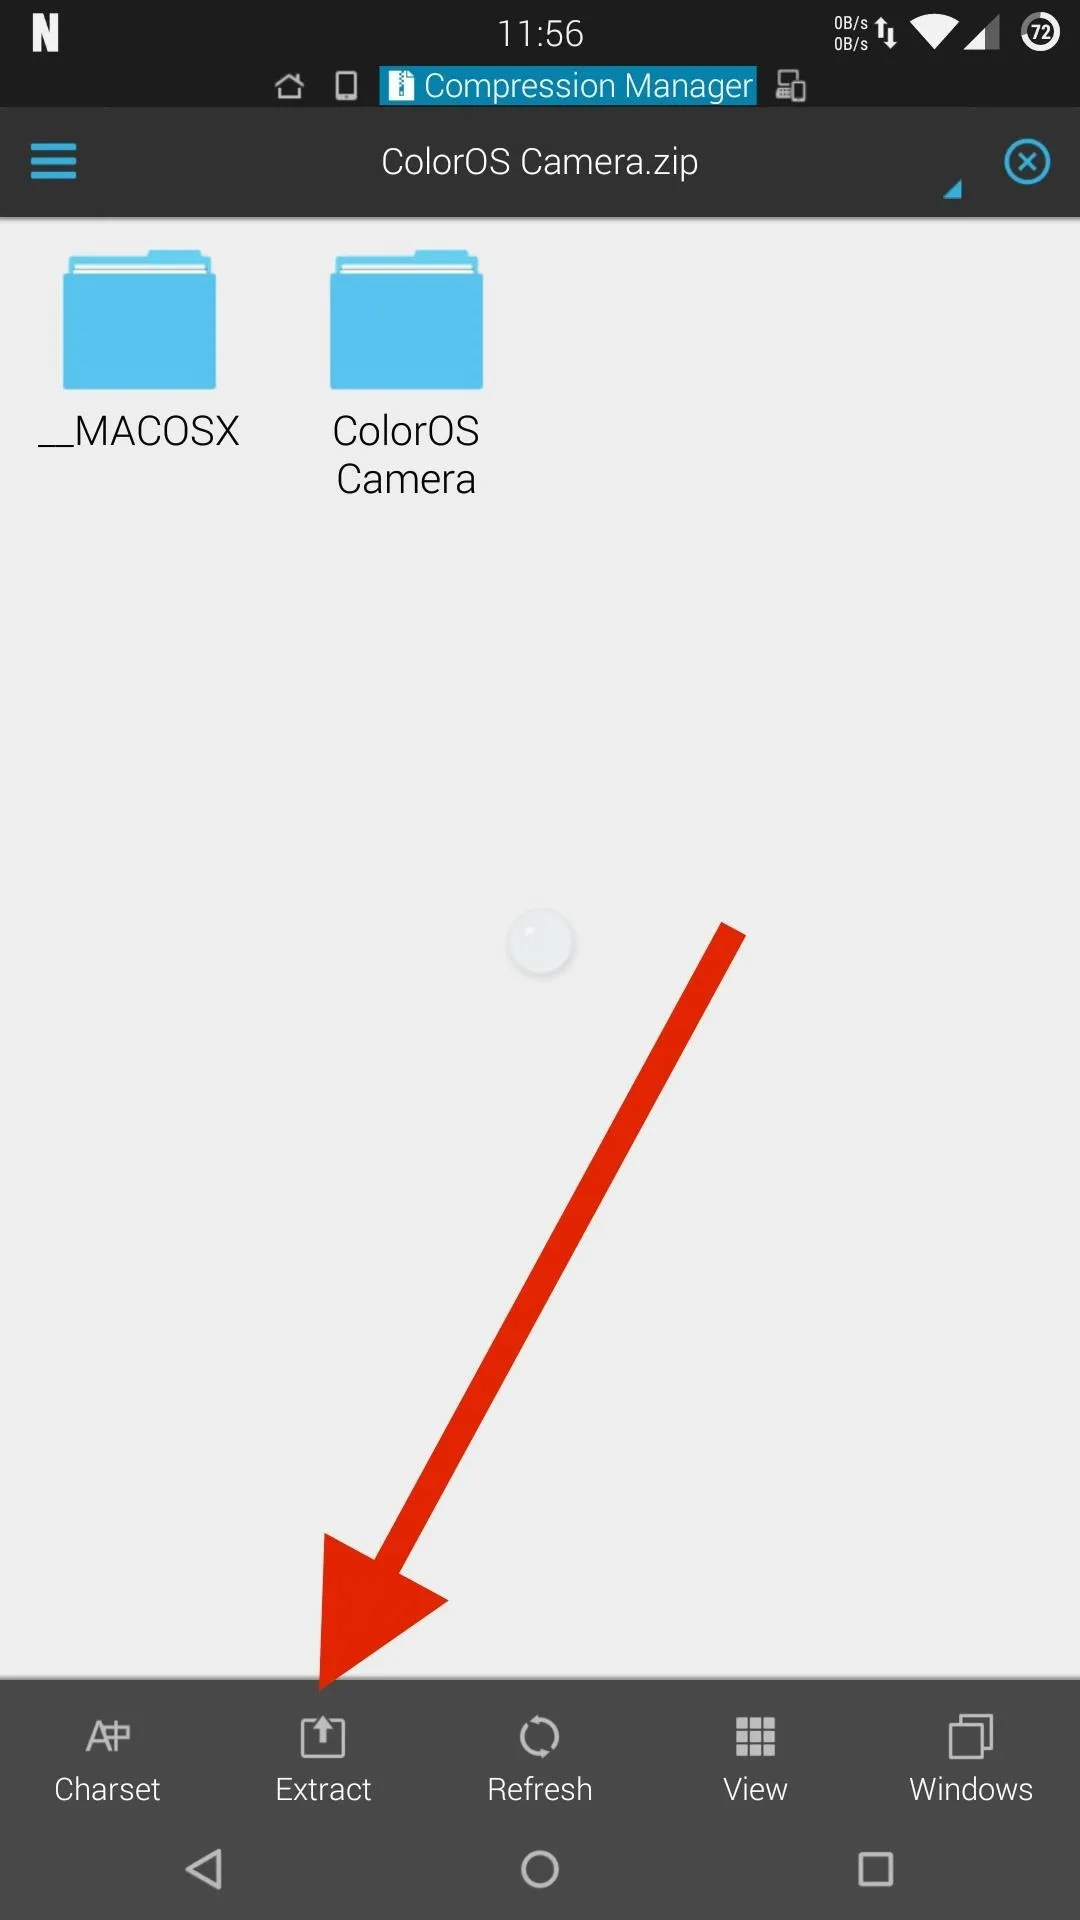
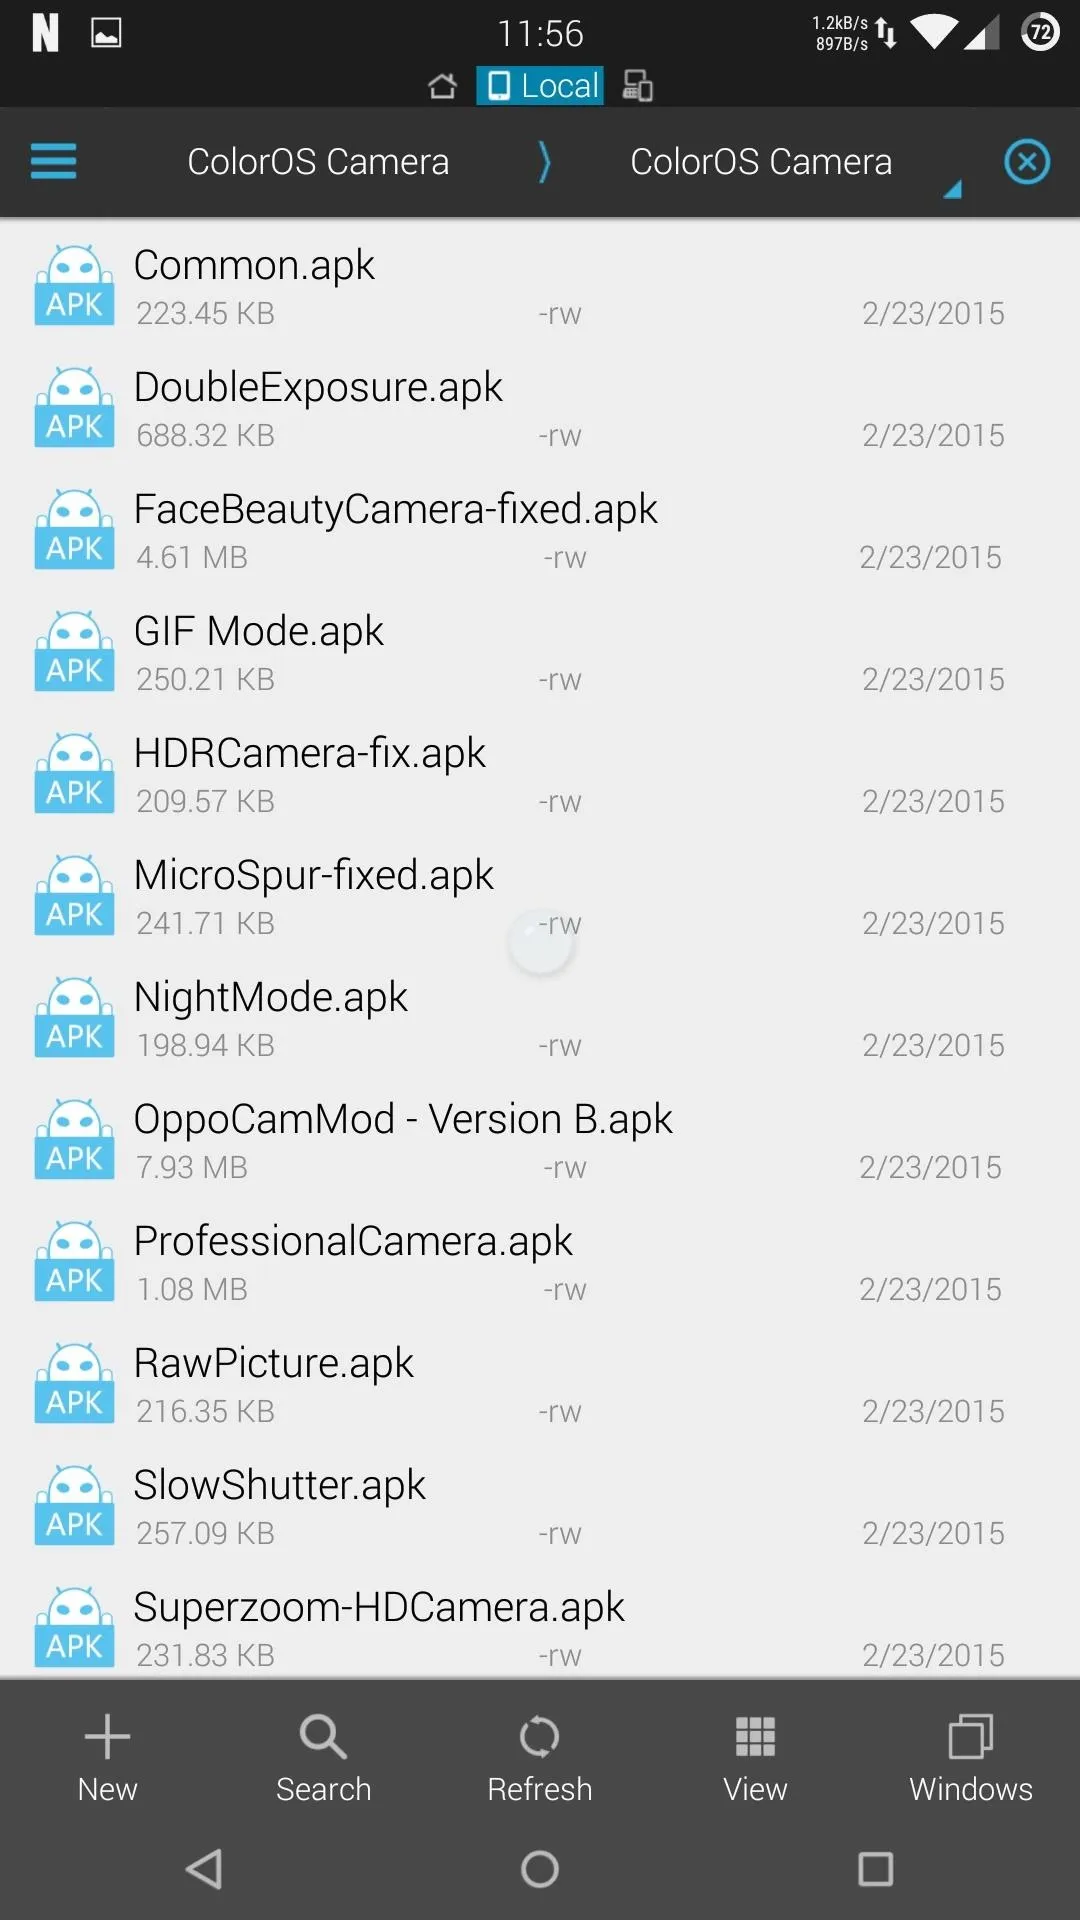
For those of you without root access, you will need to install the camera and each individual plugin one by one. Download the ColorOSCamera.zip file and extract it using an app like ES File Explorer. To do that, download the ZIP, locate it in ES File Explorer, and tap "Extract."
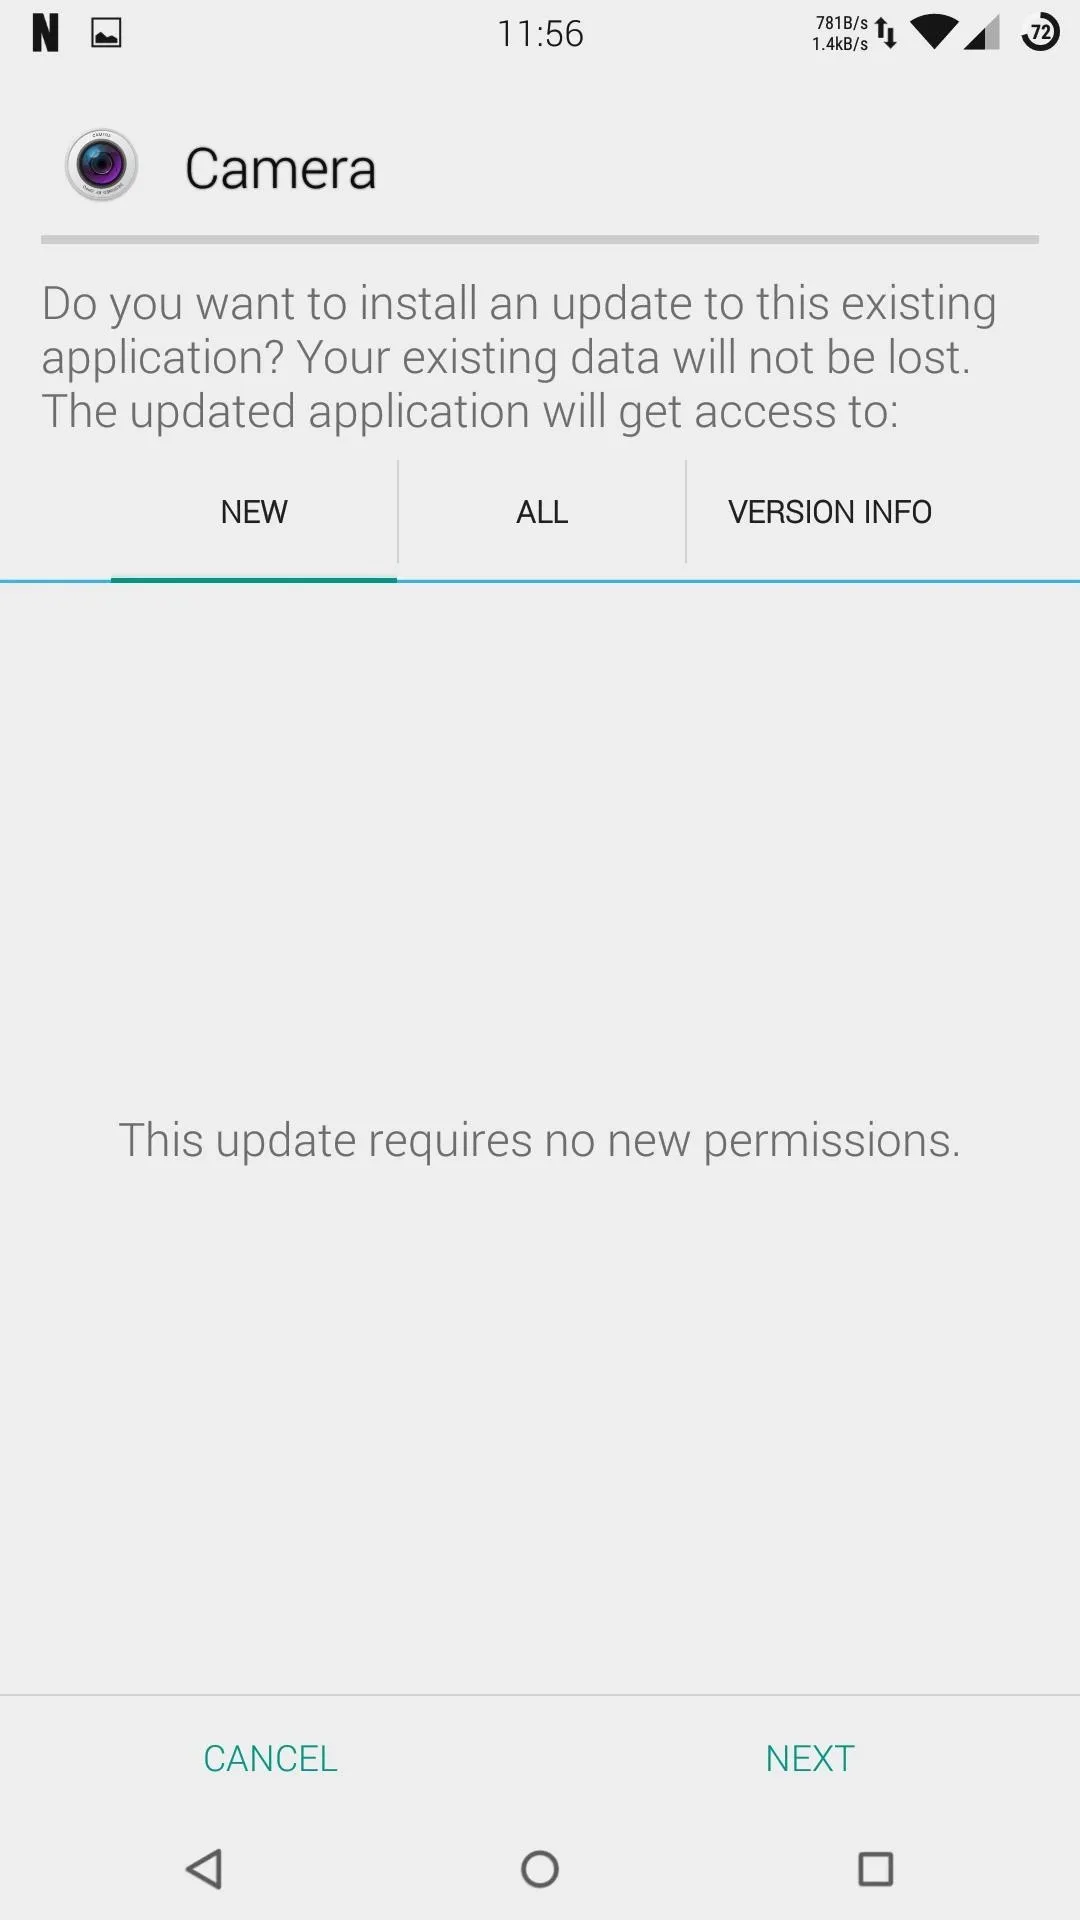
With the ZIP extracted, simply start installing the APKs, just be sure to enable installation of apps from "Unknown sources" beforehand.


Using the Camera
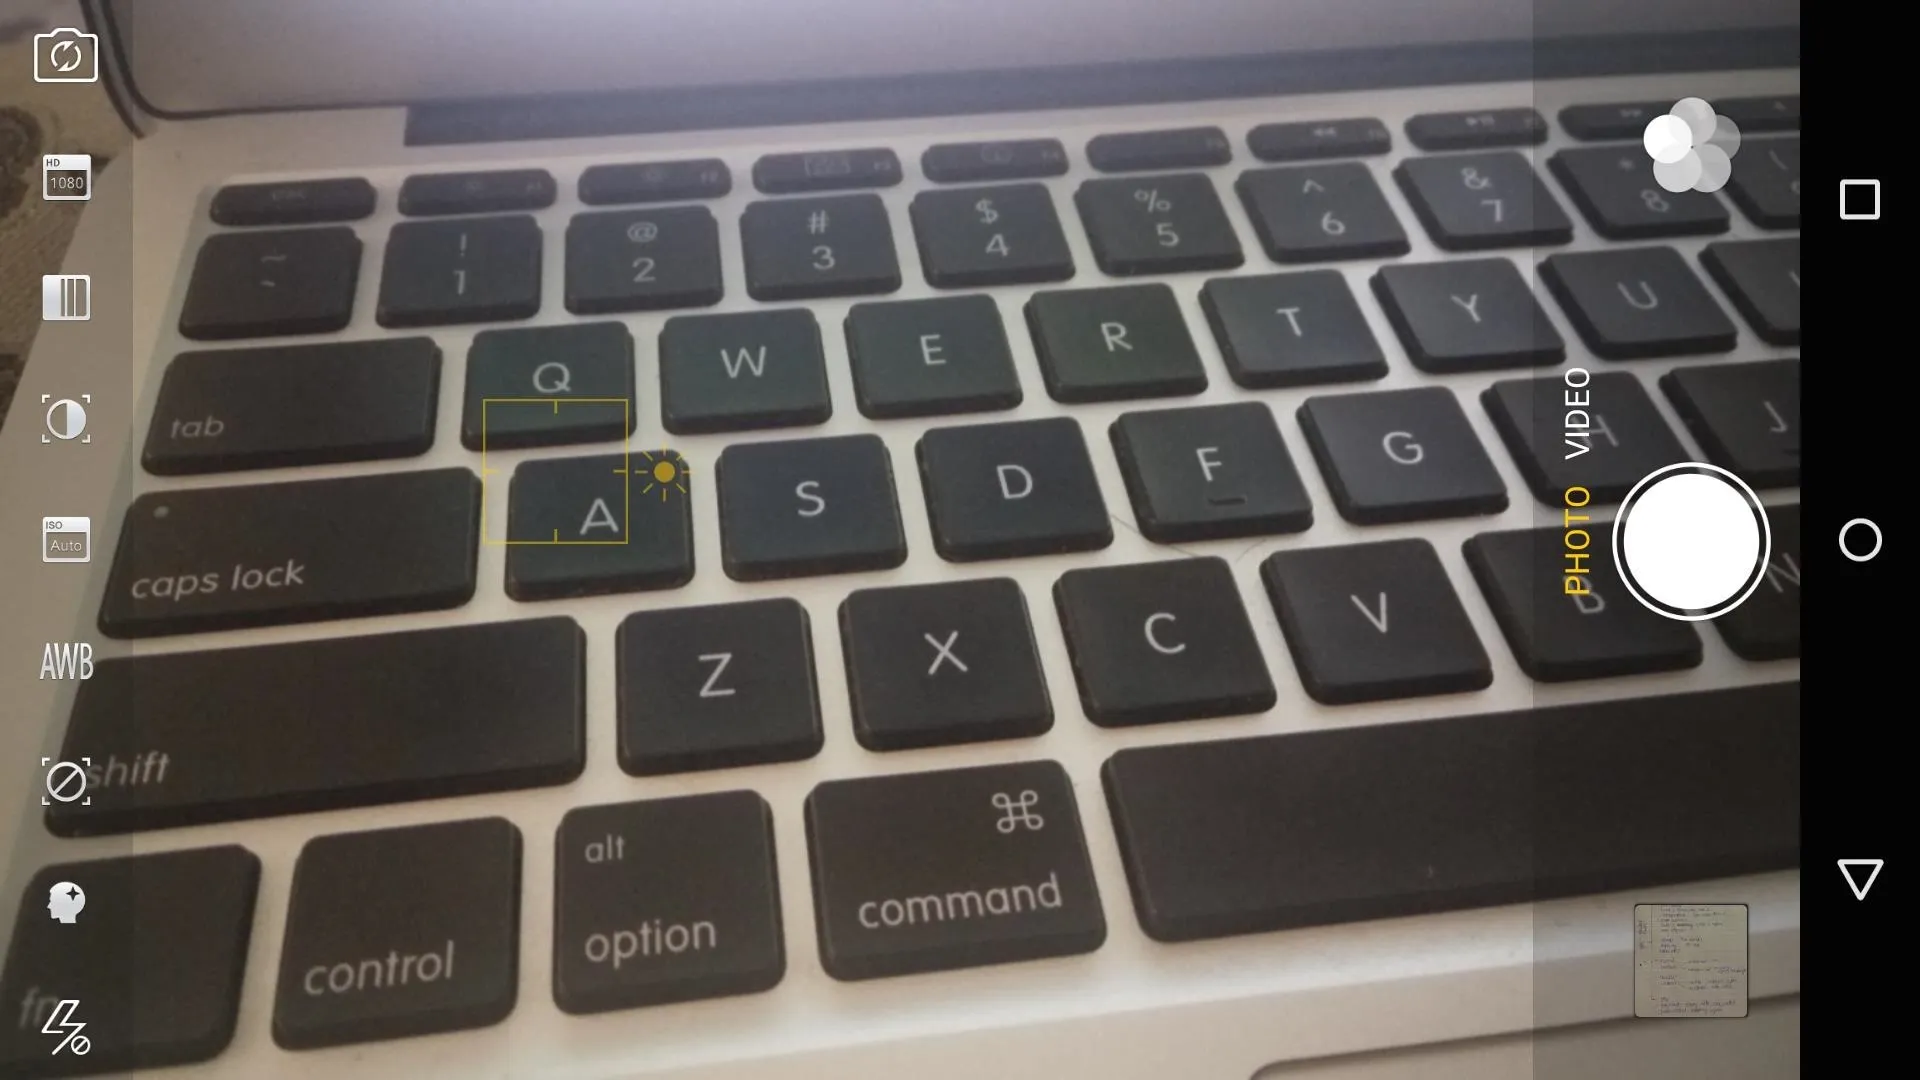
The layout of the app is similar to that of the Sense Camera, but instead of being on the side, the settings, camera switcher, filter selection, and lighting options are available across the top of the screen when in portrait mode. To enable video recording slide to the left of the screen and then tap the record button. Recording can be paused and resumed at any time to reduce the amount of trimming you need to do when editing videos.
Enable Plugins
Whether you installed the plugin APKs manually or flashed them through TWRP they still need to be enabled through the Color OS camera app. To do that tap the icon on the bottom right of the screen and select Camera Shop. Now all you need to do is tap Install next to each plugin and you will be good to go.
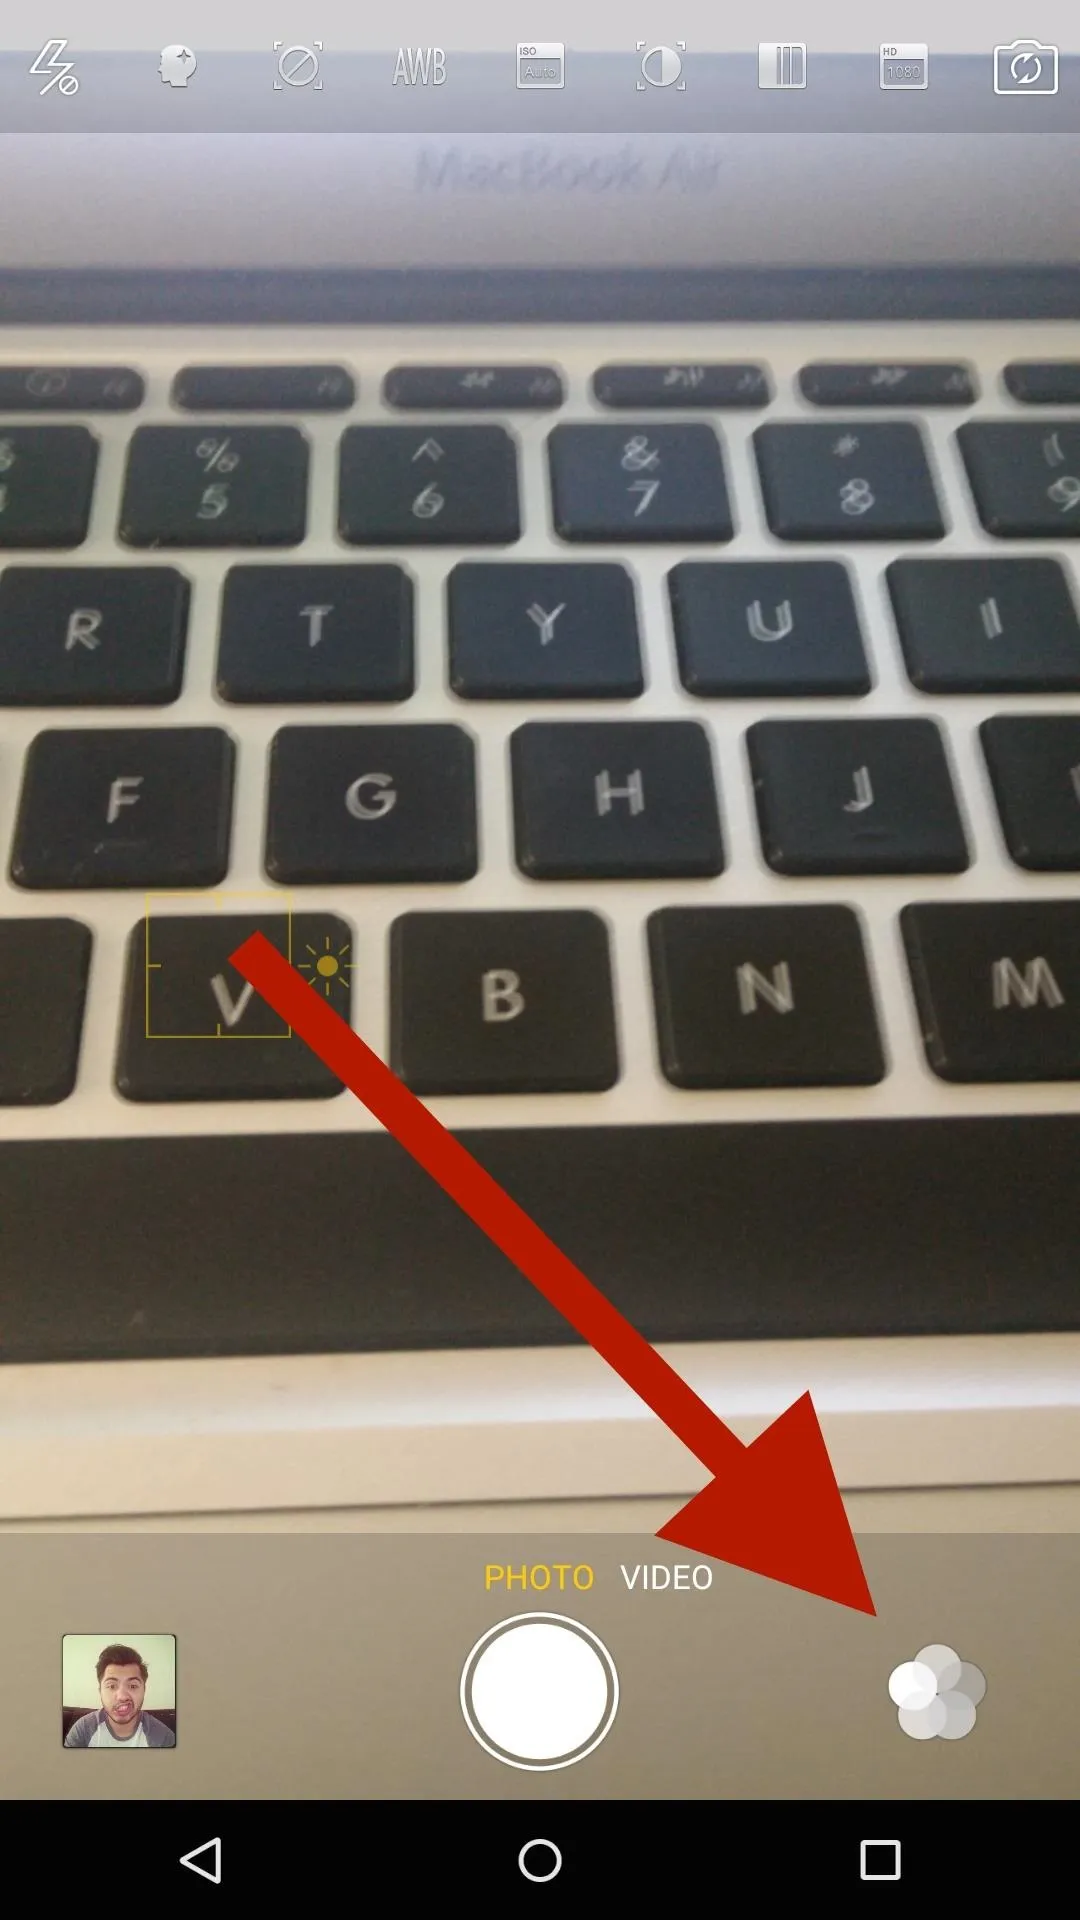
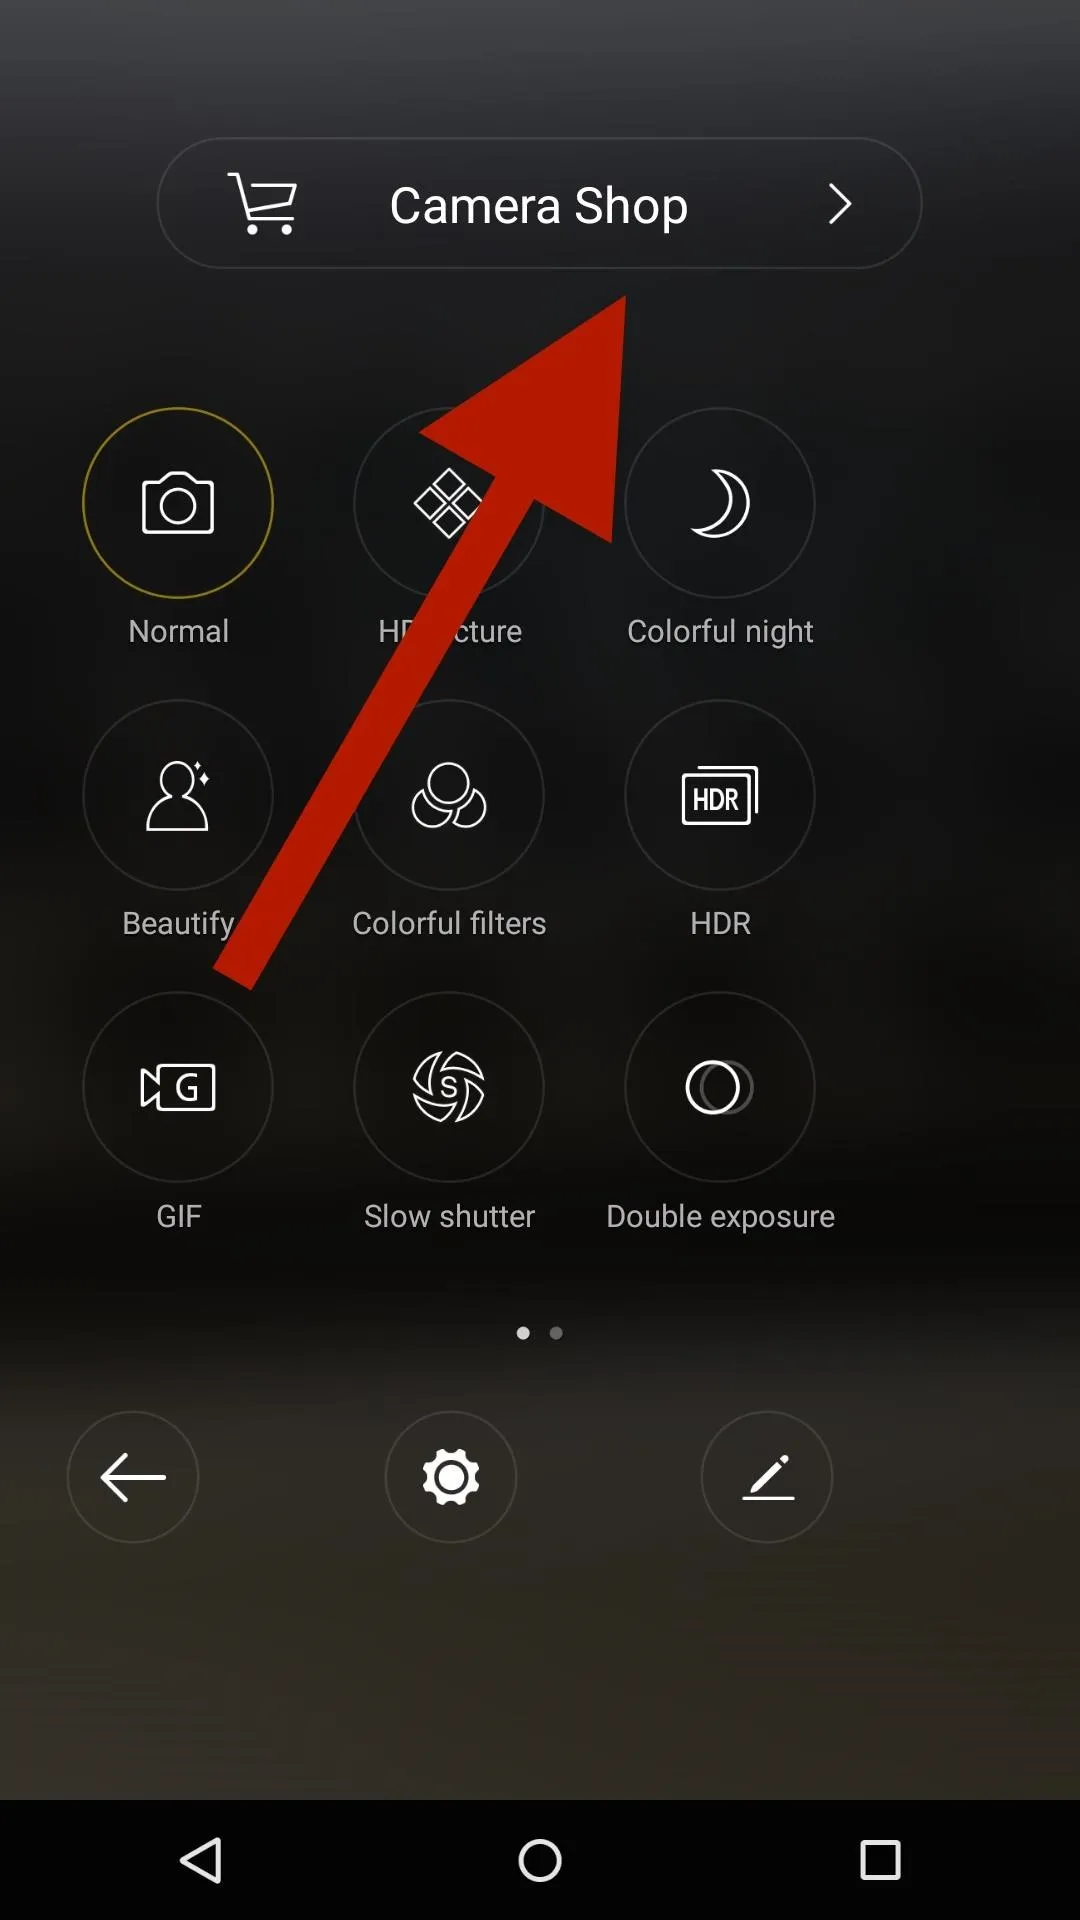
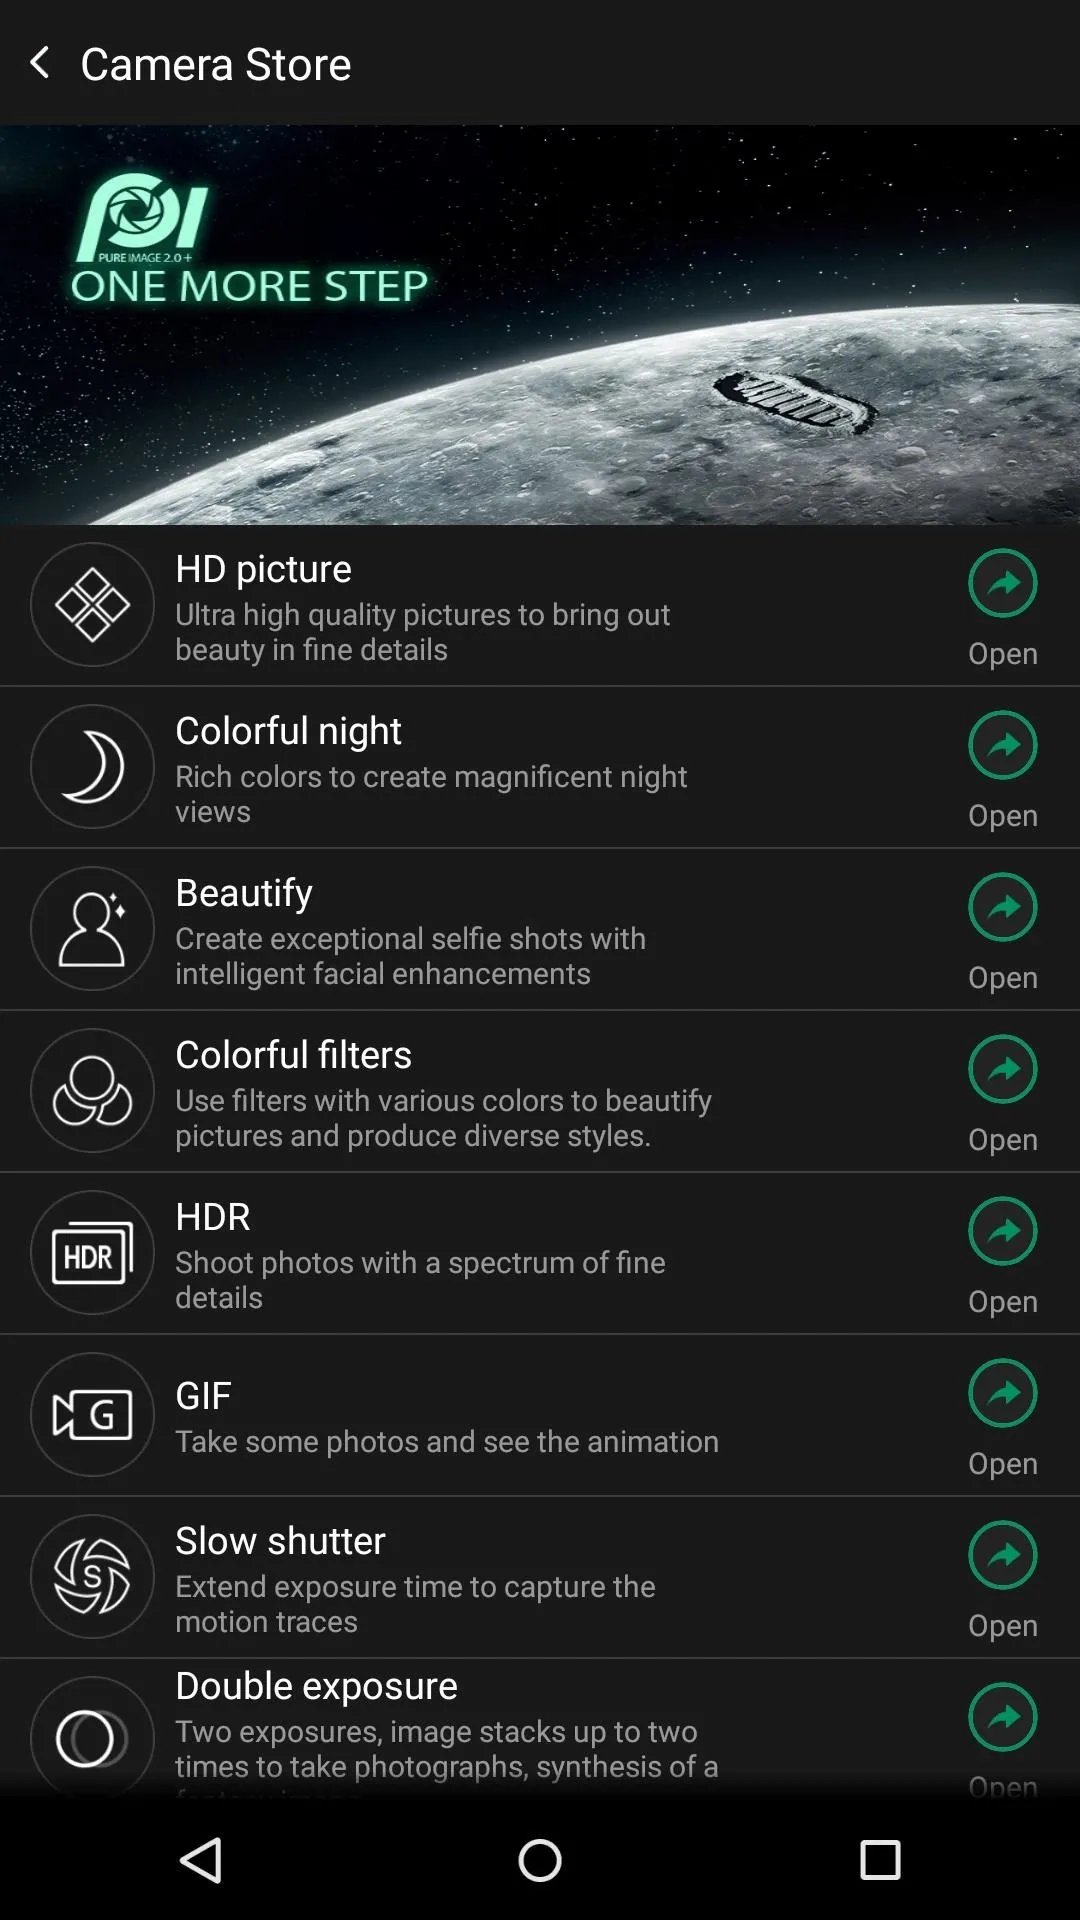


To apply a plugin to your photos you will first have to enable it from the plugin menu, which can be accessed by tapping the icon on the bottom right of the screen. You will know a plugin is active by the icon changing from white to a rainbow.
Plugin Breakdown
All of the plugins except for Beautify are meant exclusively for the rear camera and can be toggled on from the pull-up menu right above the shutter button. Not all of the original ColorOS plugins have been ported, but the available options should be enough to keep you happy.
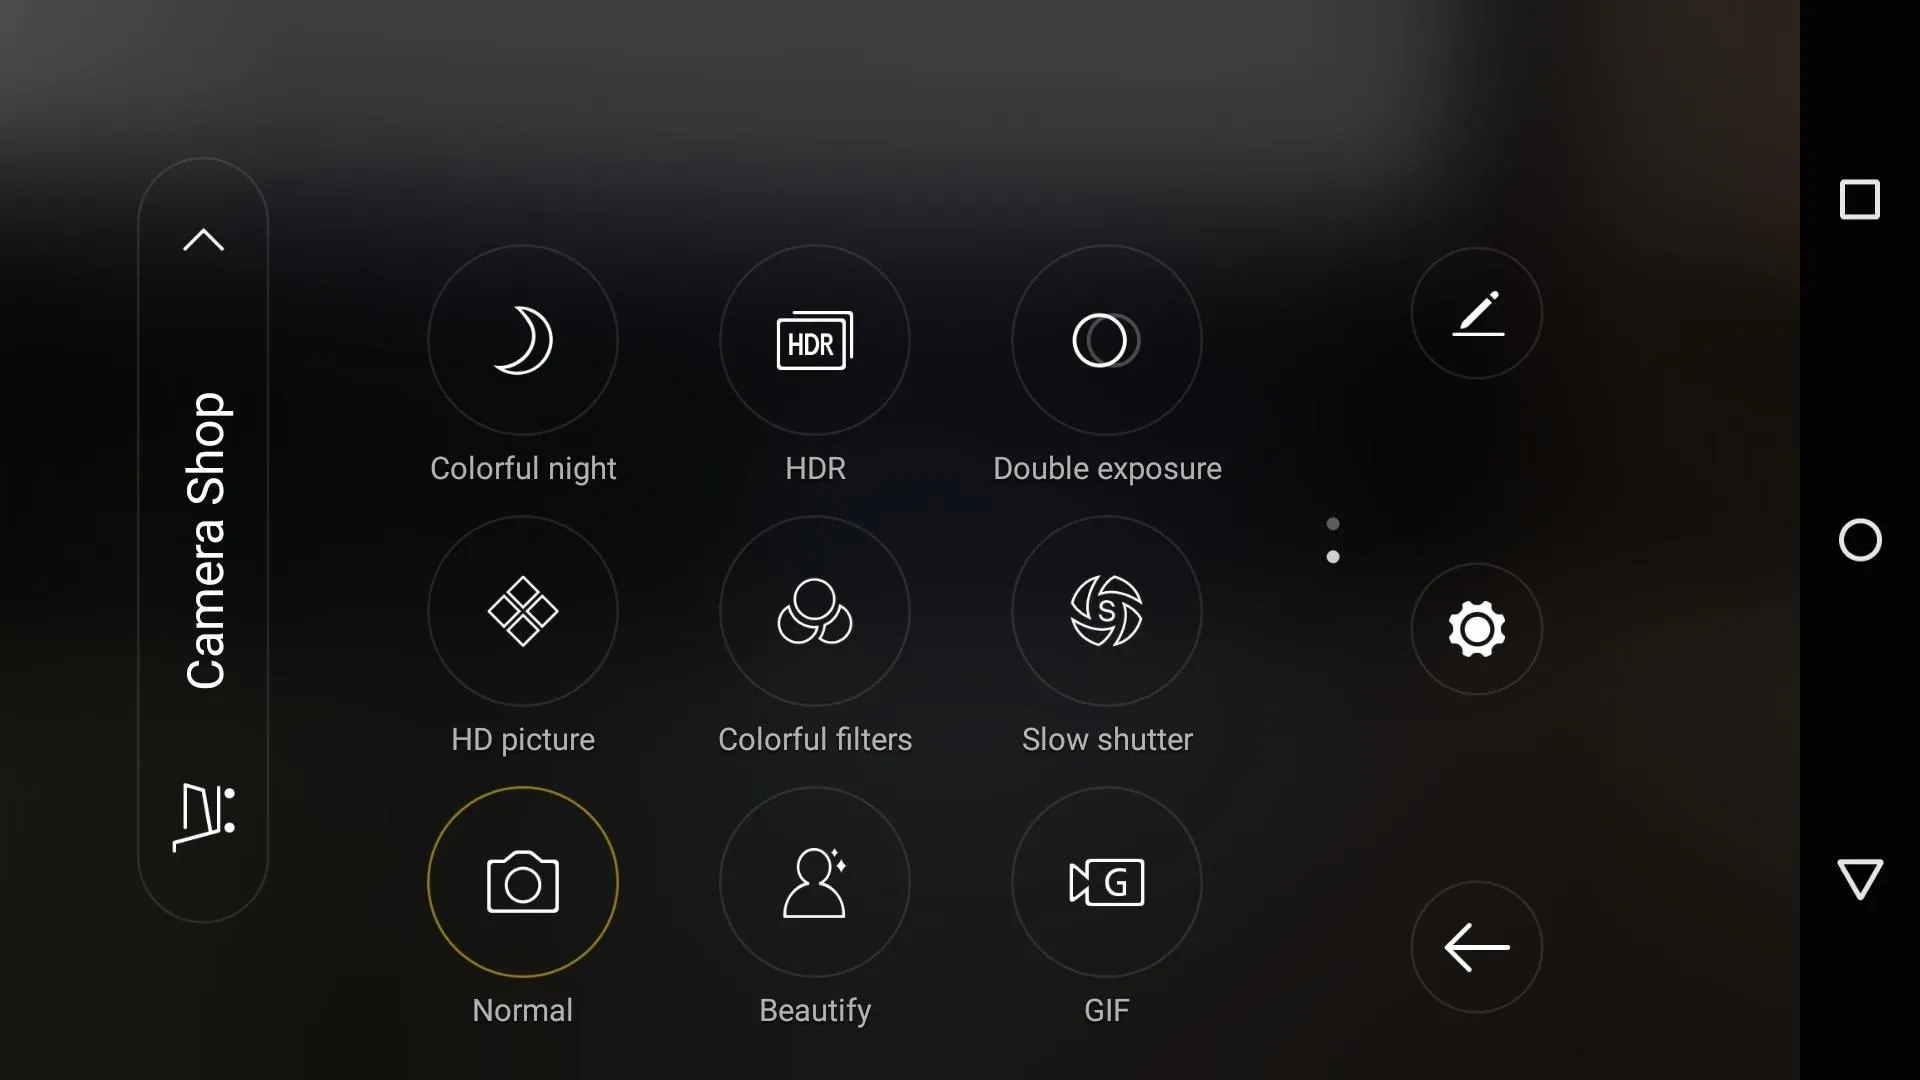
Double Exposure allows you to overlay one photo over another and can be used to take some pretty interesting shots. The first picture you take will still be visible while you set up the second shot, so you don't have to worry about things not lining up correctly.

With Beautify, you can step up your selfie game by applying quick lighting and color enhancements with a live preview. You can also control the filter levels by dragging the slider on the side of screen up or down.


GIF mode creates short, 20-frame GIFs automatically and without the need for converting a previously recorded video like in other apps.
Super Macro shots get you up close to your subject and are great for nature photos.

What really stood out to me was Night mode, with which you can get some pretty impressive night shots without having to worry too much about graininess.
Professional Mode gives you all the adjustments you'd want to make to your photos like exposure and focus control, but if you want to get more out of post-editing, I'd also recommend using RAW Capture mode.
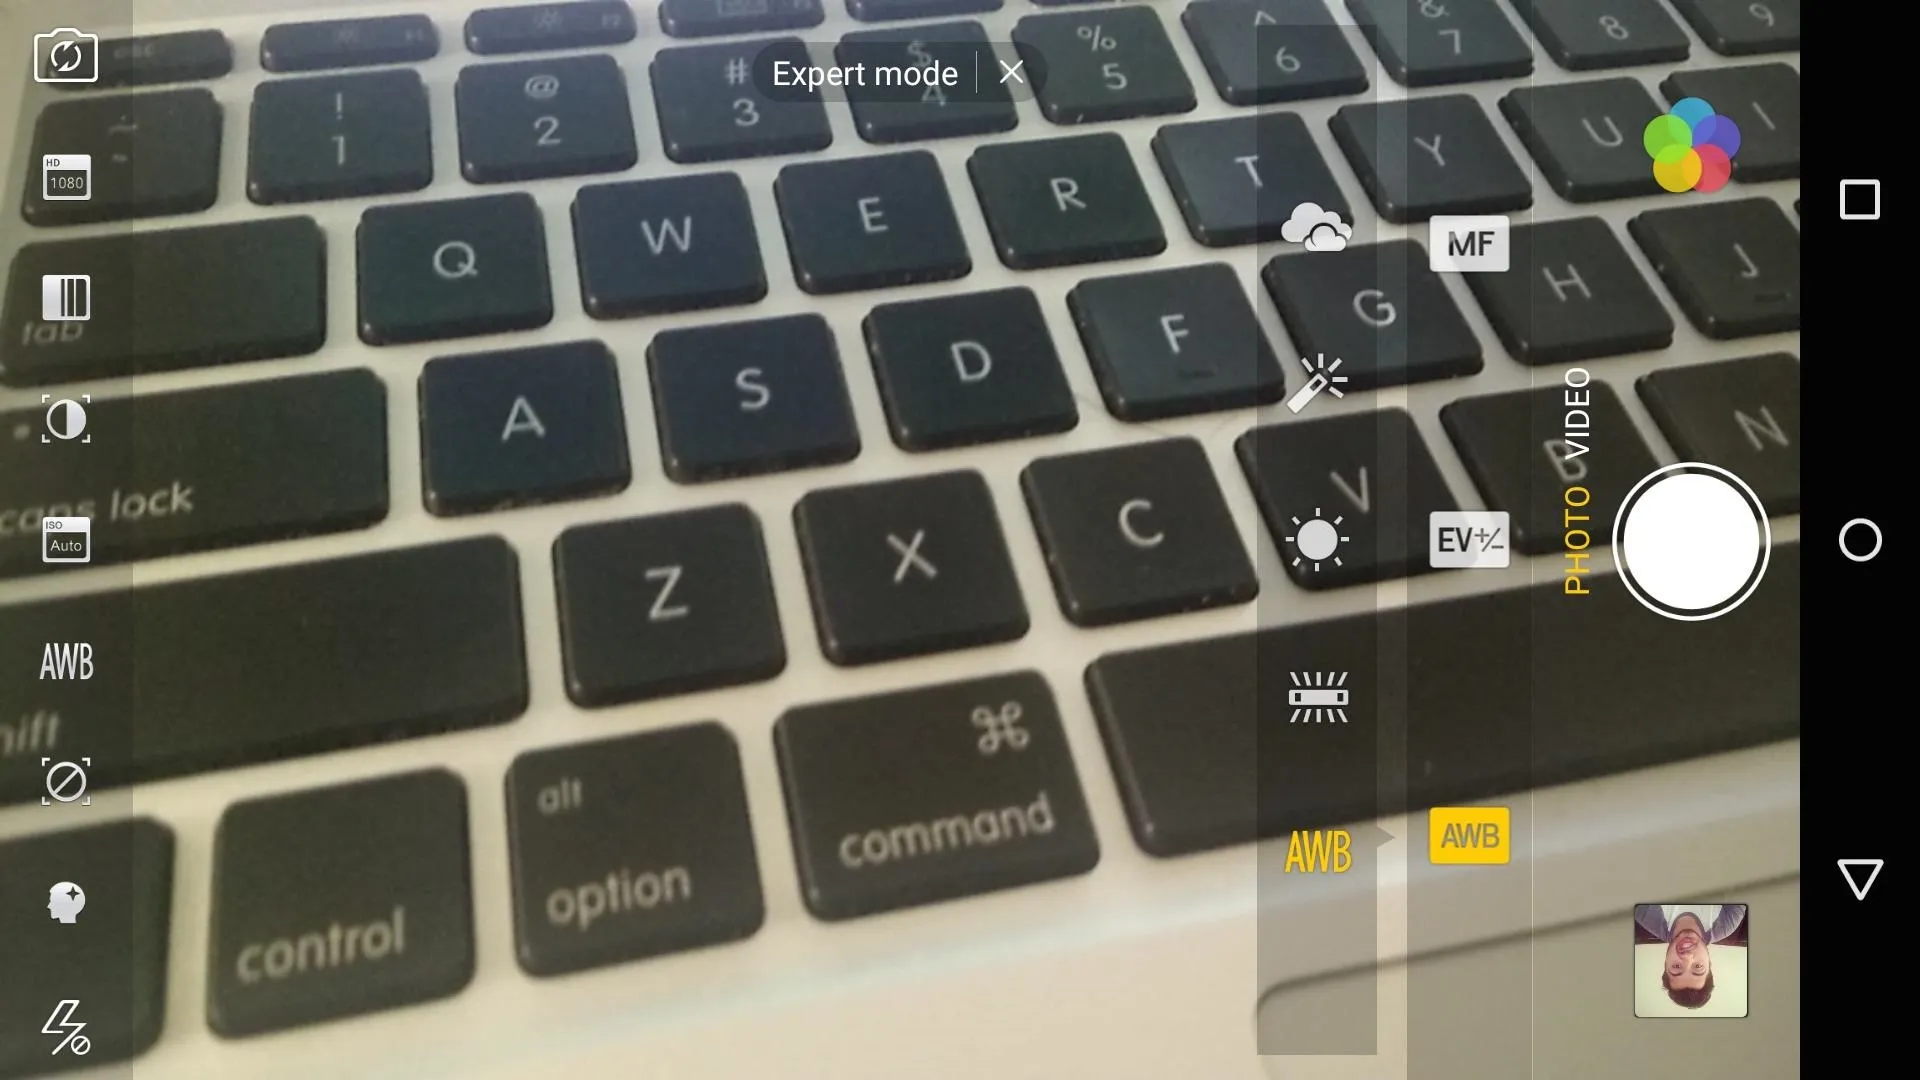
50 MP Capture, or HD Mode, is something that was first introduced in the OPPO Find 7, and lets you up your camera from 13 to 50 megapixels thanks to some software magic. This isn't the same quality you'd get out of a pricey 50 MP DSLR, but the improved quality is definitely noticeable.
What is your favorite feature of the ColorOS camera? Let us know in the comments below. And don't forget to follow Gadget Hacks over on Facebook, Google+, and Twitter to see more useful Android hacks.


Comments
No Comments Exist
Be the first, drop a comment!